 This article is meant to instruct users on how to perform common tasks on the DC Database and acclimatize new users to the templates it uses. |
One of the DC Database's most commonly uploaded image types is the Comic Cover. However, the different types of Comic Cover, and the rules for each type differ in each case. So, this tutorial will help you fill out each different type properly, so that every image you upload categorizes properly.
The first thing to know is that when the image comes from a comic cover, whether it is a textless cover (or "virgin cover") or a variant, is that its license is Comic Cover. The license field for every Image Type listed on this page should be filled out with "Comic Cover".
Cover Art[]
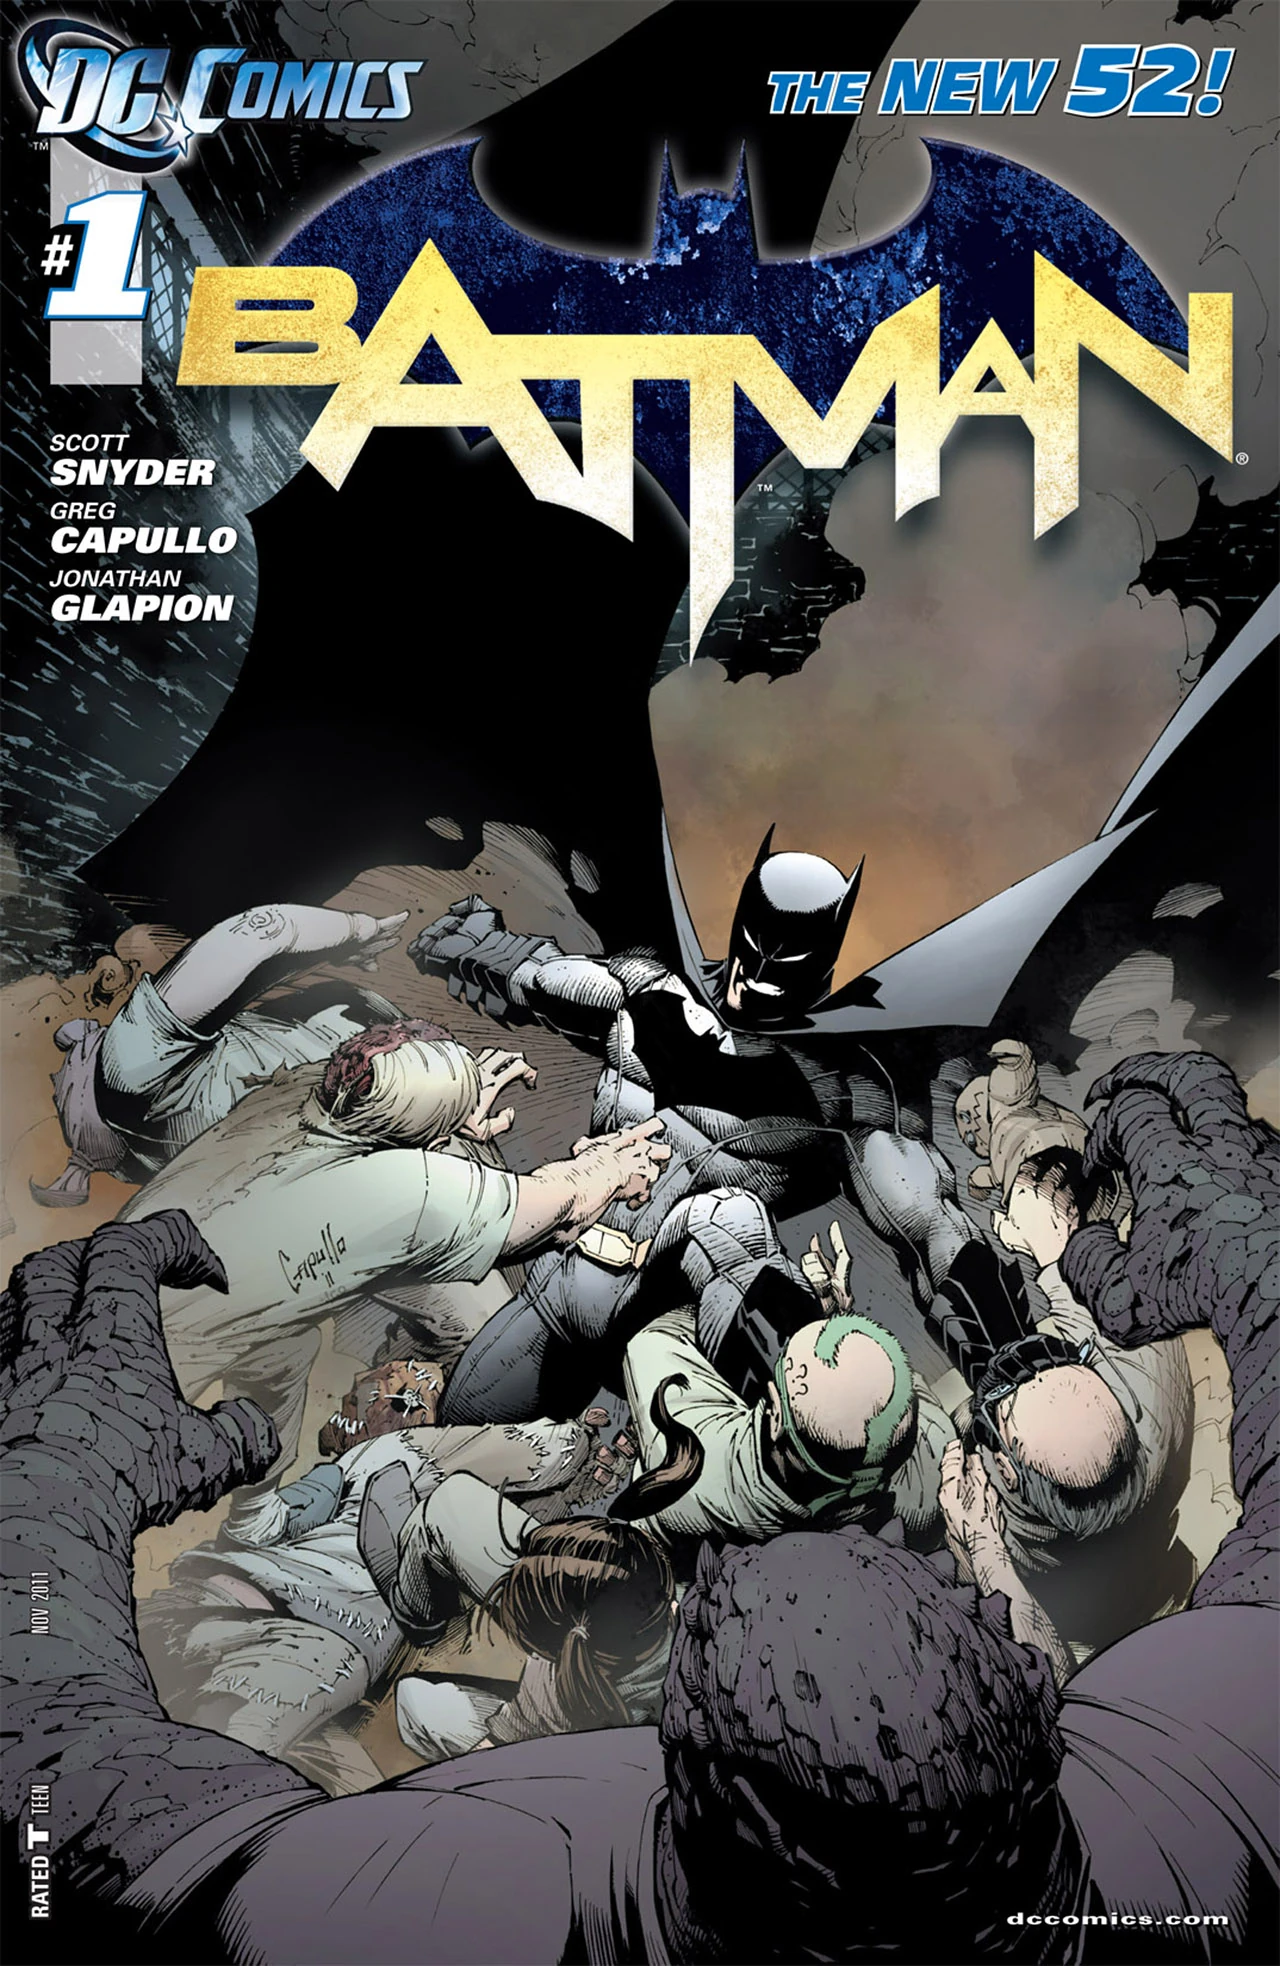
These are the typical covers for every comic book, with the number, logo, date, and barcode.
Cover Art: Instructions[]
First, name your image file according to the naming conventions. In this case, it would be "SeriesName Vol # #.jpg", e.g. Batman Vol 2 1.jpg.
Then, navigate to the Image Template and copy the Empty Syntax to your clipboard.
On the right side of most pages, there will be a button that says "Add a Photo". Clicking that will launch an upload dialog box which works from any page on the wiki. Use that dialog box to browse for your file, and once you've done so, click the "More Options" link in the bottom left, underneath the filename.
Now, you can paste the empty syntax that you copied earlier from your clipboard into the "caption" box, and begin filling out the template's fields. You may notice a drop-down box underneath the caption area of the dialog. Ignore it.
The License field should contain "Comic Cover", as with all image types that are derived from a comic cover.
The ImageType field should, in this case, contain "Cover Art", referring to the fact that this is the actual cover art from the comic, as published.
The Description field uses the Fair Use template, which automatically adds a blurb indicating that the content of the image (in this case, the cover of the issue) is being used under a fair use license, which covers our butts, legally. To use it, first type "{{F|", and then input the title, volume, and issue number, finally close the brackets like so: {{f|Batman Vol 2 10}}. That is all you need to do for Description.
Skip ahead to the PreviousCover & NextCover fields. You can optionally add the previous and next issue's cover image links to the infobox, which will ease navigation from cover to cover. The proper format for those fields is "Filename.jpg". The template will automatically convert that to a link, once you publish, and it will look like this: Batman Vol 2 9.jpg.
The Source field is required for Cover Art. Simply add the Series, Volume, and Issue number, as usual: "Batman Vol 2 12". This sources the image to the issue it comes from. For Cover Art, Leave the Permission and Issue fields blank. This is important for Cover Art images, because the issue field is meant to categorize the image to the Issue/Images category, which is only used for textless covers and interior art. Only the Source field is required here.
Leave the Universe field blank, and fill the Subject1 field with the word "None". We do not credit character appearances to covers, because then the Character/Images categories fill up with cover images, which is ugly. However, if you leave the field blank, it fills up Image Subject Needed, and we don't like that either. So, for covers, put "None", and everything will work out fine.
To credit the image, fill out the CoverArtist1 field with the issue's cover artist. If there is a second, third, fourth, etc cover artist (these are typically inkers and colorists), you can add a new line with CoverArtist2, CoverArtist3, and so on, up to ten cover artists. You can leave all of the other fields blank for this ImageType.
Now that you've filled out the template, you can press the Upload button. You will automatically be redirected from the upload dialog box to the "New photos on this wiki" page. Just to be sure, you should click on your image, and jump through the (somewhat annoying) slide-show link to see if you filled out everything properly.
Here is an example of a properly filled out image template: Action Comics Vol 2 12.jpg.
Textless Covers[]
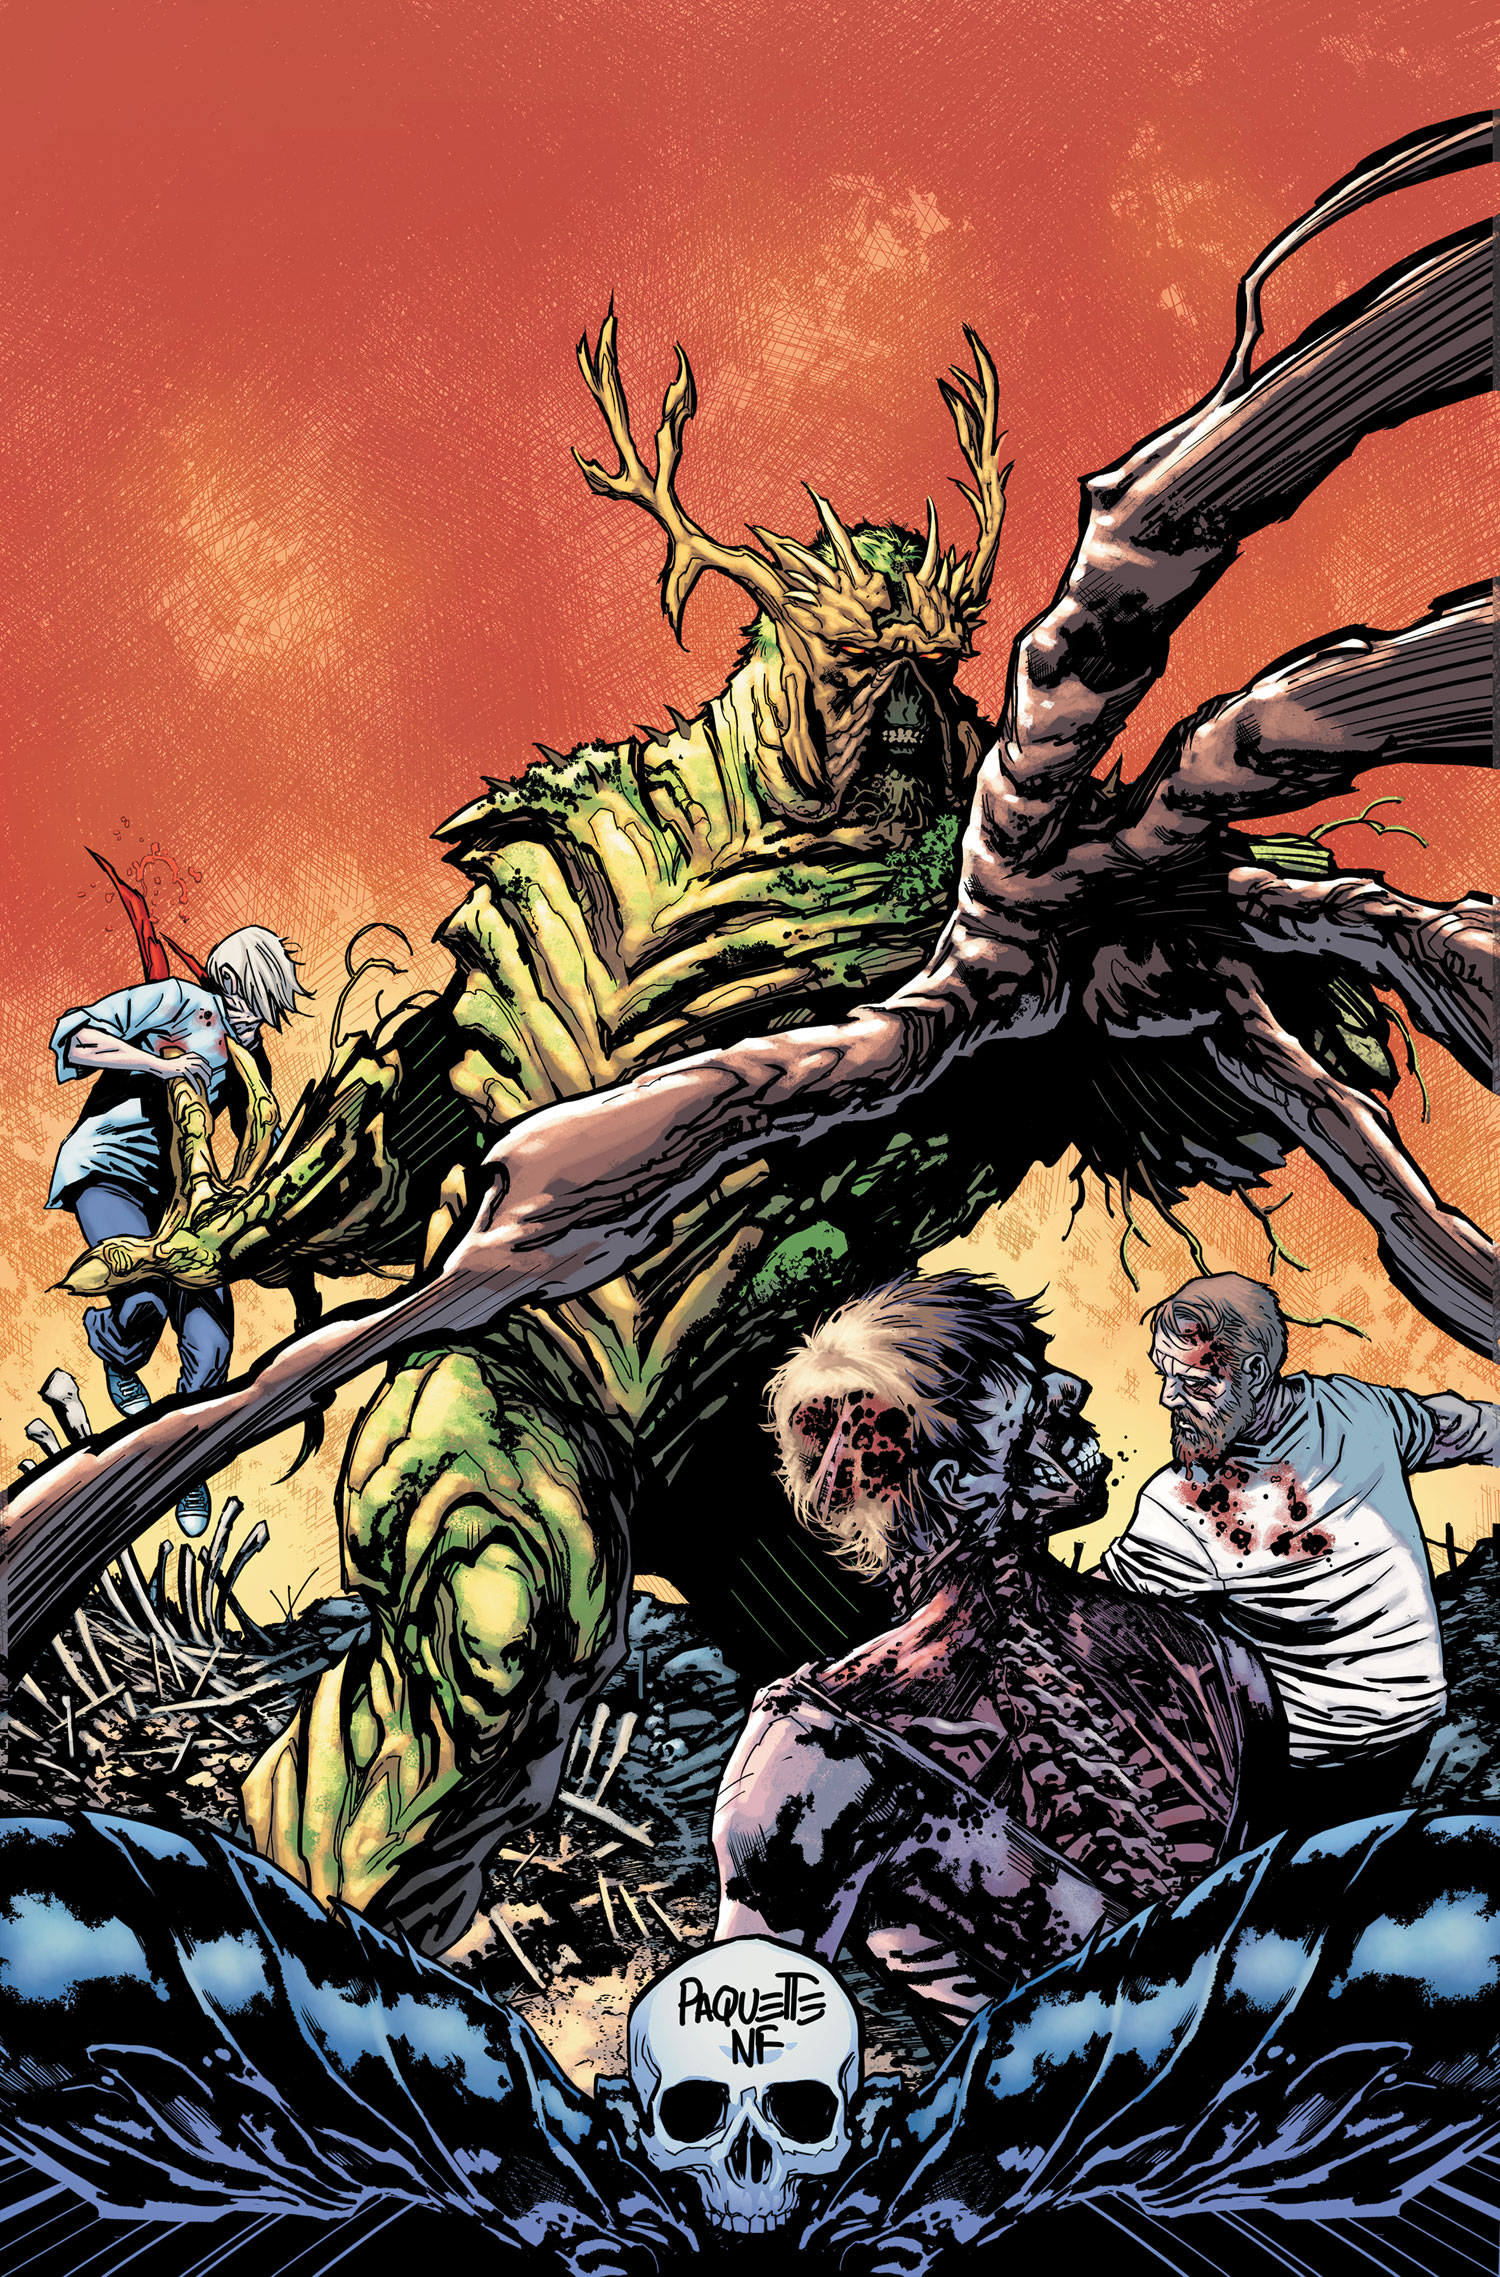
Textless covers are typically used in solicitations for the new comics each week, and have in the past been included in trade paperbacks and collections. Generally, they include nothing but the art. No logo, no date, no number, and no barcode. These images are desirable for character galleries and as alternate covers on issue pages.
Textless: Instructions[]
First, name your image file according to the naming conventions. In this case, it would be "SeriesName Vol # # Textless.jpg", e.g. Swamp Thing Vol 5 8 Textless.jpg. If the image is used in a character gallery, it may be renamed later, and that is fine, so long as the change is reflected on the issue page, and the template is filled out properly.
Navigate to the Image Template and copy the Empty Syntax to your clipboard.
On the right side of most pages, there will be a button that says "Add a Photo". Clicking that will launch an upload dialog box which works from any page on the wiki. Use that dialog box to browse for your file, and once you've done so, click the "More Options" link in the bottom left, underneath the filename.
Now, you can paste the empty syntax that you copied earlier from your clipboard into the "caption" box, and begin filling out the template's fields. You may notice a drop-down box underneath the caption area of the dialog. Ignore it.
The License field should contain "Comic Cover", as with all image types that are derived from a comic cover.
The ImageType field should, in this case, be "Textless" or "Virgin" (either one will work), referring to the fact that this is a version of the comic cover that does not have any text or "dressing".
The Description field uses the Fair Use template, which automatically adds a blurb indicating that the subject of the image (in this case, that could be a character or team) is being used under a fair use license, which covers our butts, legally. To use it, first type "{{F|", and then input the subject of the image. Typically, we link to the disambig (if there is one) rather than a specific character's page. For example, in the image above, we would use {{f|Swamp Thing}}. If no one subject can be singled out, it works just as well to use the "SeriesTitle Vol # #" format as well: {{f|Swamp Thing Vol 5 8}}. That is all you need to do for Description.
Skip ahead to the Issue field. The GalleryDescription and Previous/NextCover fields do not apply to textless covers. We also ignore the Source and Permission fields, because the Source field is for dressed covers and online content that does not come from primary sources (which are the comics themselves).
So, just fill out the Issue field with the "SeriesTitle Vol # #" format, which sources the image to the issue from it comes from (Swamp Thing Vol 5 8). Filling out this field automatically categorizes it to the issue's image category.
Fill out the Universe field with the Reality (or Earth) that corresponds to the characters or scene that appear in the image. Typically, this will match the earth-designation of the characters who appear in the image, so an image featuring Bruce Wayne (New Earth) will have a Universe field filled out with "New Earth".
Fill out the Subject fields with each character, item, event, location that appears prominently in the image. Use the "Name (Earth Designation)" format. For additional subjects, you can add a new line with "Subject6", "Subject7", etc. So, if you see Batman in the image, and it takes place in the New Earth reality, then you will fill out Subject1 with "Bruce Wayne (New Earth)".
To fill out the credits on Textless/Virgin covers, we use the Penciler / Inker / Colorist fields. Thanks to some handy coding, the artists will be categorized as both Penciler/Inker/Colorist and CoverArtist.
Do not use the CoverArtist fields for Textless/Virgin covers. Those are only for dressed cover art images.
Optionally, you can manually add Category:Character Images or Category:Team Images.
Now that you've filled out the template, you can press the Upload button. You will automatically be redirected from the upload dialog box to the "New photos on this wiki" page. Just to be sure, you should click on your image, and jump through the (somewhat annoying) slide-show link to see if you filled out everything properly.
Here is a properly filled out textless cover's image template: Swamp Thing Vol 5 8 Textless.jpg.